I designed two versions of this food chopper during my time at Progressive International. The first was a premium version under PL8, the second an economy version under the brand Prepsolutions. This version went on to become one of Progressive’s best sellers at Walmart. These items demonstrate my efforts to translate mechanical engineering into great product experiences while maintaining quality, durable mechanisms and cost efficiency. Here’s a video of the Prepsolutions version.
We designed these items to follow up a couple existing choppers that had performance issues and mixed reviews. For years, Progressive sold a chopper at Walmart which we had sourced from a factory. It was one of the better priced ones on the market. Although it sold well it was not up to our standards. There were a couple main issues: The first was that food would sometimes get stuck on the blades, meaning the plunger wouldn’t go back up and the user would have to pull the plunger upwards. This is a mild but common inconvenience. The other more significant issue was that the mechanism could wear out and stop spinning, rendering the item unusable. Besides that, it needed a visual refresh to fit in our brand and some usability improvements. There is only so much we could do with changes to the existing tooling because the tooling was not owned by Progressive.
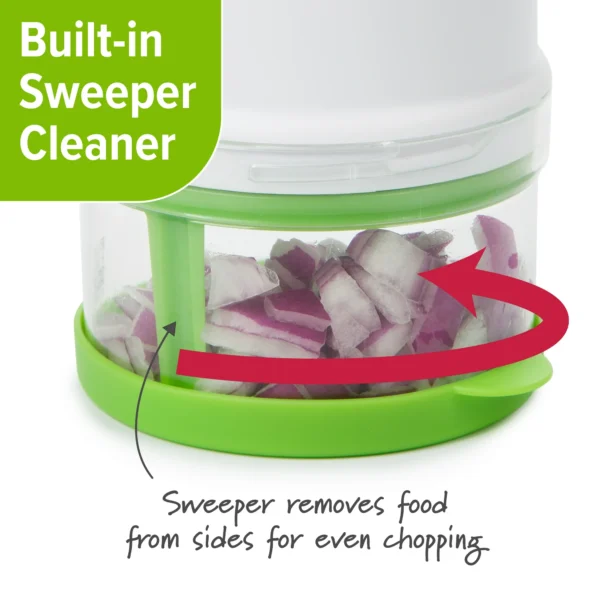
The format has been popular ever since the famous Slap Chop infomercial. There are many competitors that all have the same basic mechanical function. After the user presses down the plunger to cut the food a spring pushes the plunger and blade back up. On the way up, the blade will rotate so that the next downstroke will cut a different area. On the upstroke a “wiper” part will push the food off the blades, and also push food off the walls so that large pieces won’t get stuck there. There’s a lot of ways to achieve this motion so choosing one was part of my task.
The Stiction Problem
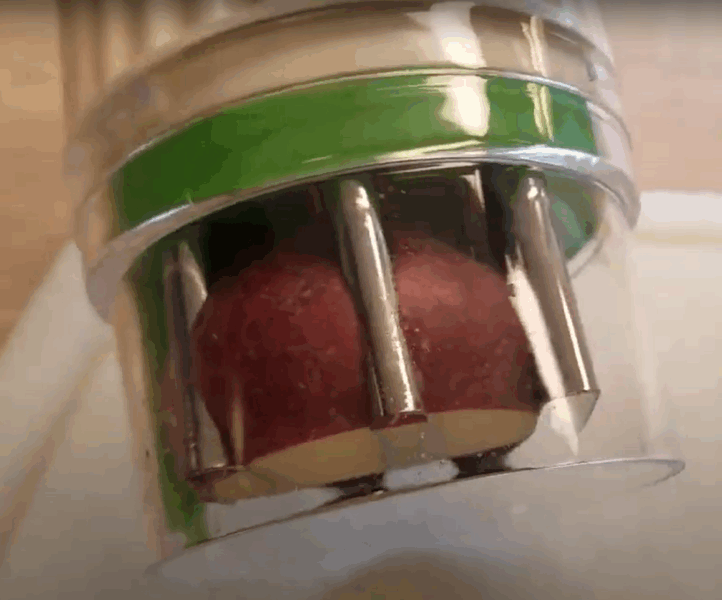
There are two reason food sticks to the blades. First is adhesion from the water in the food. The second and more significant one is the food being lodged between the blades. Naturally, if you push a row of blades which have a fixed distance between them into a potato, then the potato itself is squeezed, and/or the blades are bent outward. This creates a friction which the spring, via the wiper, needs to overcome on the upstroke. So we first of all we reduced the number of blade segments
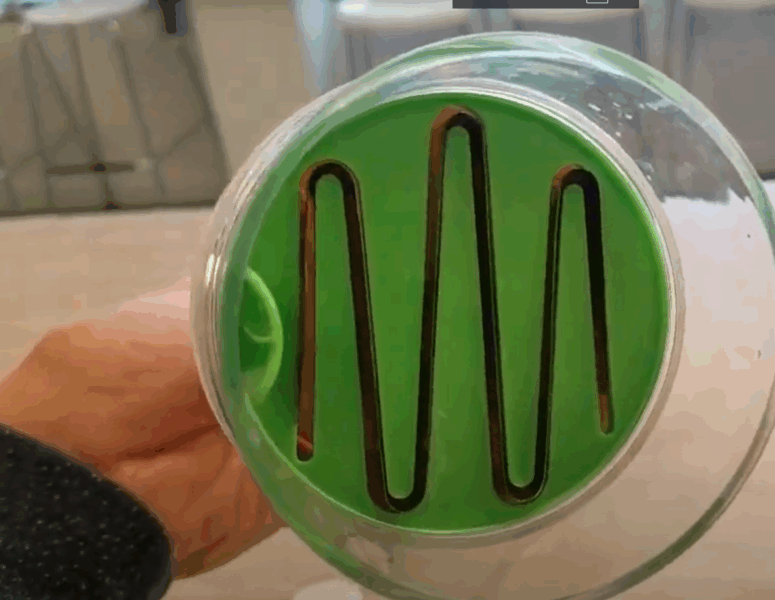
Another critical variable is the angle between the bends of the blade. I have found from experience that food stuck in items with parallel blades was very hard to push out, but food stuck in items with angled blade segments was much easier to push off. It’s a bit like a draft angle on an injection-molded part. The angle allows the part to move away from the blade surface in the normal direction, instead of sliding against it.
That explains the forces needed of the spring on the upstroke. On the downstroke the user has to overcome those same forces, plus the force of splitting the food, plus the force to compress the spring. The overall blade length is critical and has an exponential effect on ease of use. We decided to develop an item that had a slightly larger area for cutting but a shorter blade length than our existing sample and wider angles between segments. You can still cut items into the same size pieces, but it might take a couple more strokes. This is preferable though because an X% longer blade might need X% less strokes but creates roughly 5X% more effort per stroke.

The Reciprocating Ratchet
There are almost as many ways to achieve the reciprocating ratchet motion as there are competitor choppers of this format on the market, so there was no need to fully reinvent the wheel here. We started with a thorough analysis of all the options on the market with regard to cost and durability. Ultimately I chose to stick with the same type of mechanism but make significant improvements to it.
The old item used something I will call a barrel cam combined with a compliant ratchet. It’s very low cost since the whole ratchet mechanism is only a single extra part. Downsides of it are that it makes a clicking noise and that, because it’s plastic and has a small size, durability is a concern. We knew from cycle testing that it would far too often wear out and fail to rotate after about 500 cycles.

Upon a deeper inspection of the CAD, I found that the original mechanism had been designed as extruded faces. The barrel cam walls should be helical faces like a screw thread. That way, the follower will always have a surface-on-surface contact area, rather than an edge-on-surface contact or, worse, a point-on-surface contact. In SolidWorks, the easiest way to do that is to use the wrap feature to transfer the barrel cam profile onto the cylindrical face. For the next version, we rectified this geometric error and also just made the parts larger so that the wear would be much less.
Another side effect of the shorter blade and the lighter spring is that there is less wear on the tips of each compliant arm. The tips wear out on the upstroke when it is pushing it upward. The sides of the arms wear out on the downstroke, and the friction here is more driven by the geometry of the arm. The friction is also driven by the pitch of the slots simply because of vector geometry, so we reduced that as well. In the final design there is at least some bearing surface for each stage of the mechanism: downstroke, click over, and upstroke/rotation.

Usability Improvements
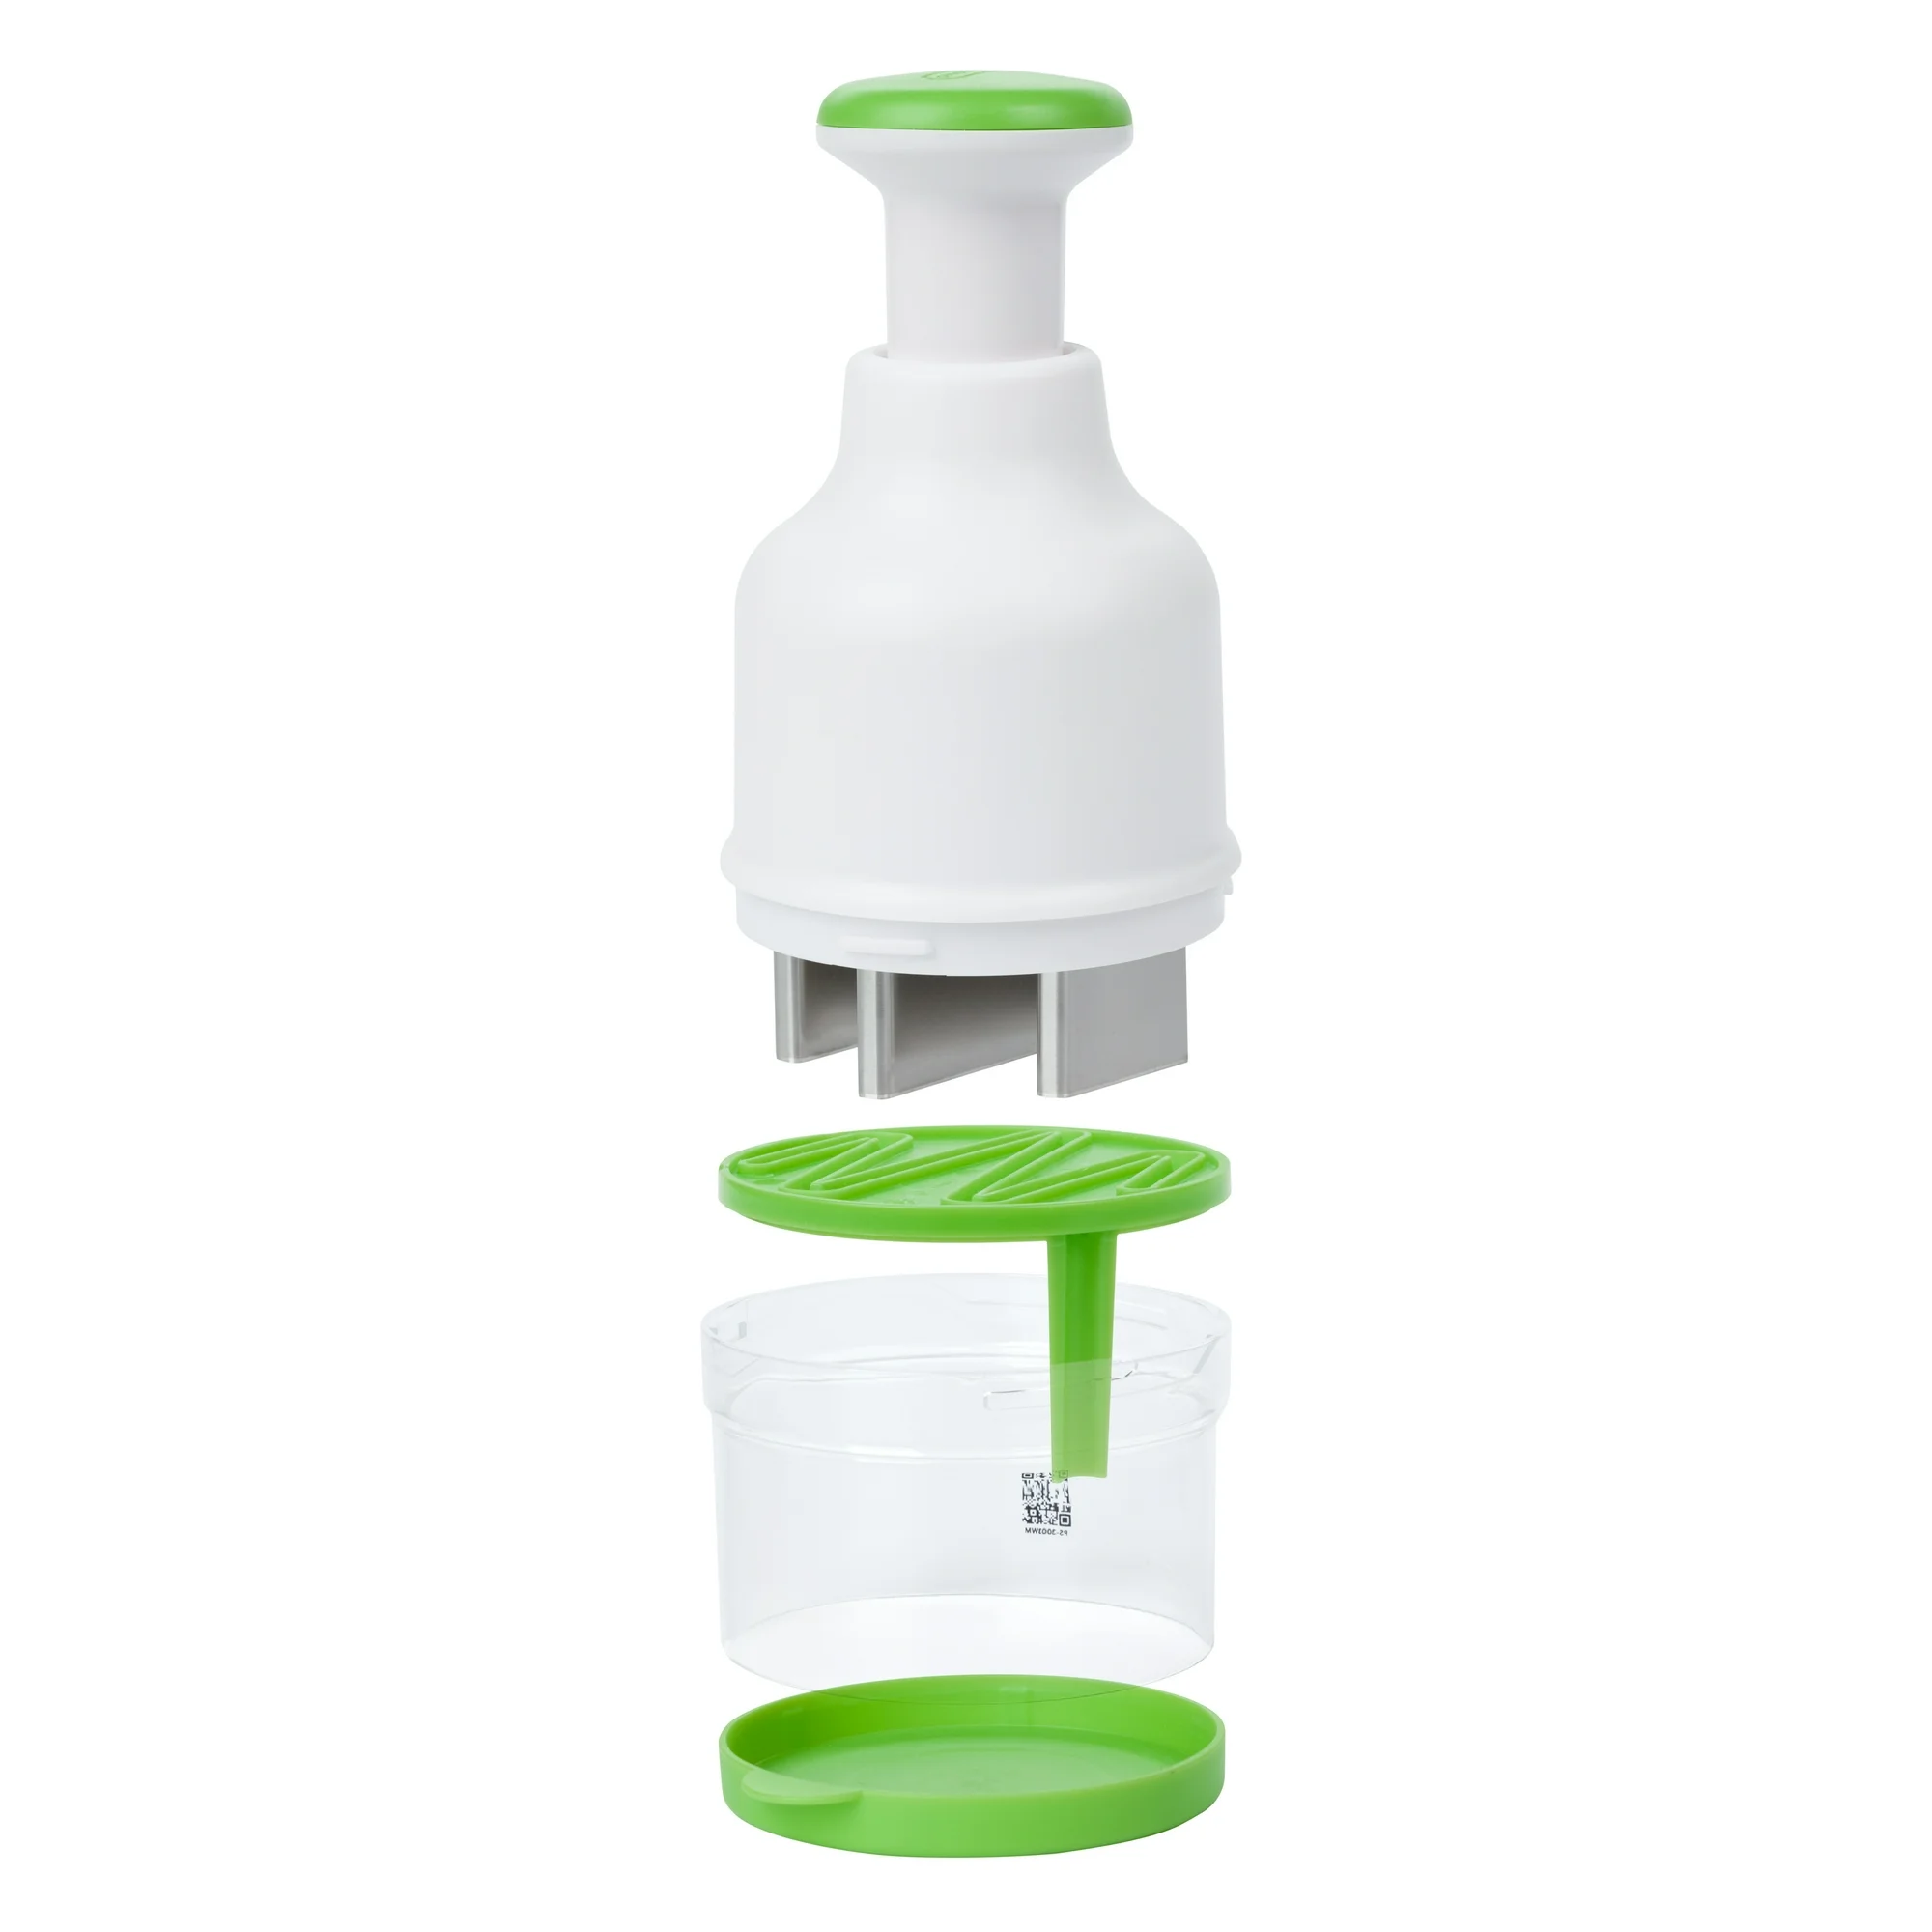
A common annoyance with this format of item is the assembly process. There’s an order of operations which isn’t obvious. When you separate the container from the main body usually the wiper just sits in the container, so you have to take that out too. So now you have three pieces but only two hands. When reassembling you will either (A) put the wiper into the container and then put the housing down on top of it. You’ll need to orient the blade to the wiper which is not an easy task because you can’t see what’s going on. Or (B) hold the housing upside down, assemble the wiper onto the blades upside down, put the container on and then put food in the container, then flip the whole assembly over. It’s not very intuitive. To remedy this for the PL8 version we added a snap feature with three long arms that keeps the wiper attached to the blade. It significantly reduces user confusion.

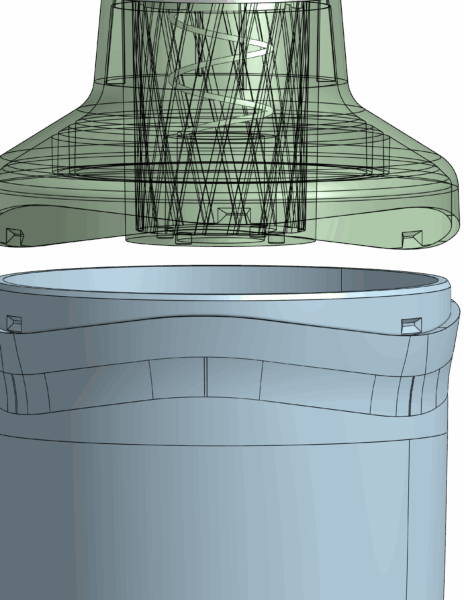
The PL8 version also features this soft bayonet snap between the container and the housing. It can be assembled in any orientation and users will naturally assemble the two parts first axially and then radially. The wavy shape serves to allow each of the petals to be more flexible and function as lead-ins. Since our container was made out of rigid SAN material and had very thick walls, we knew all the flexibility for this snap feature had to be in the PP housing.
The Final Product
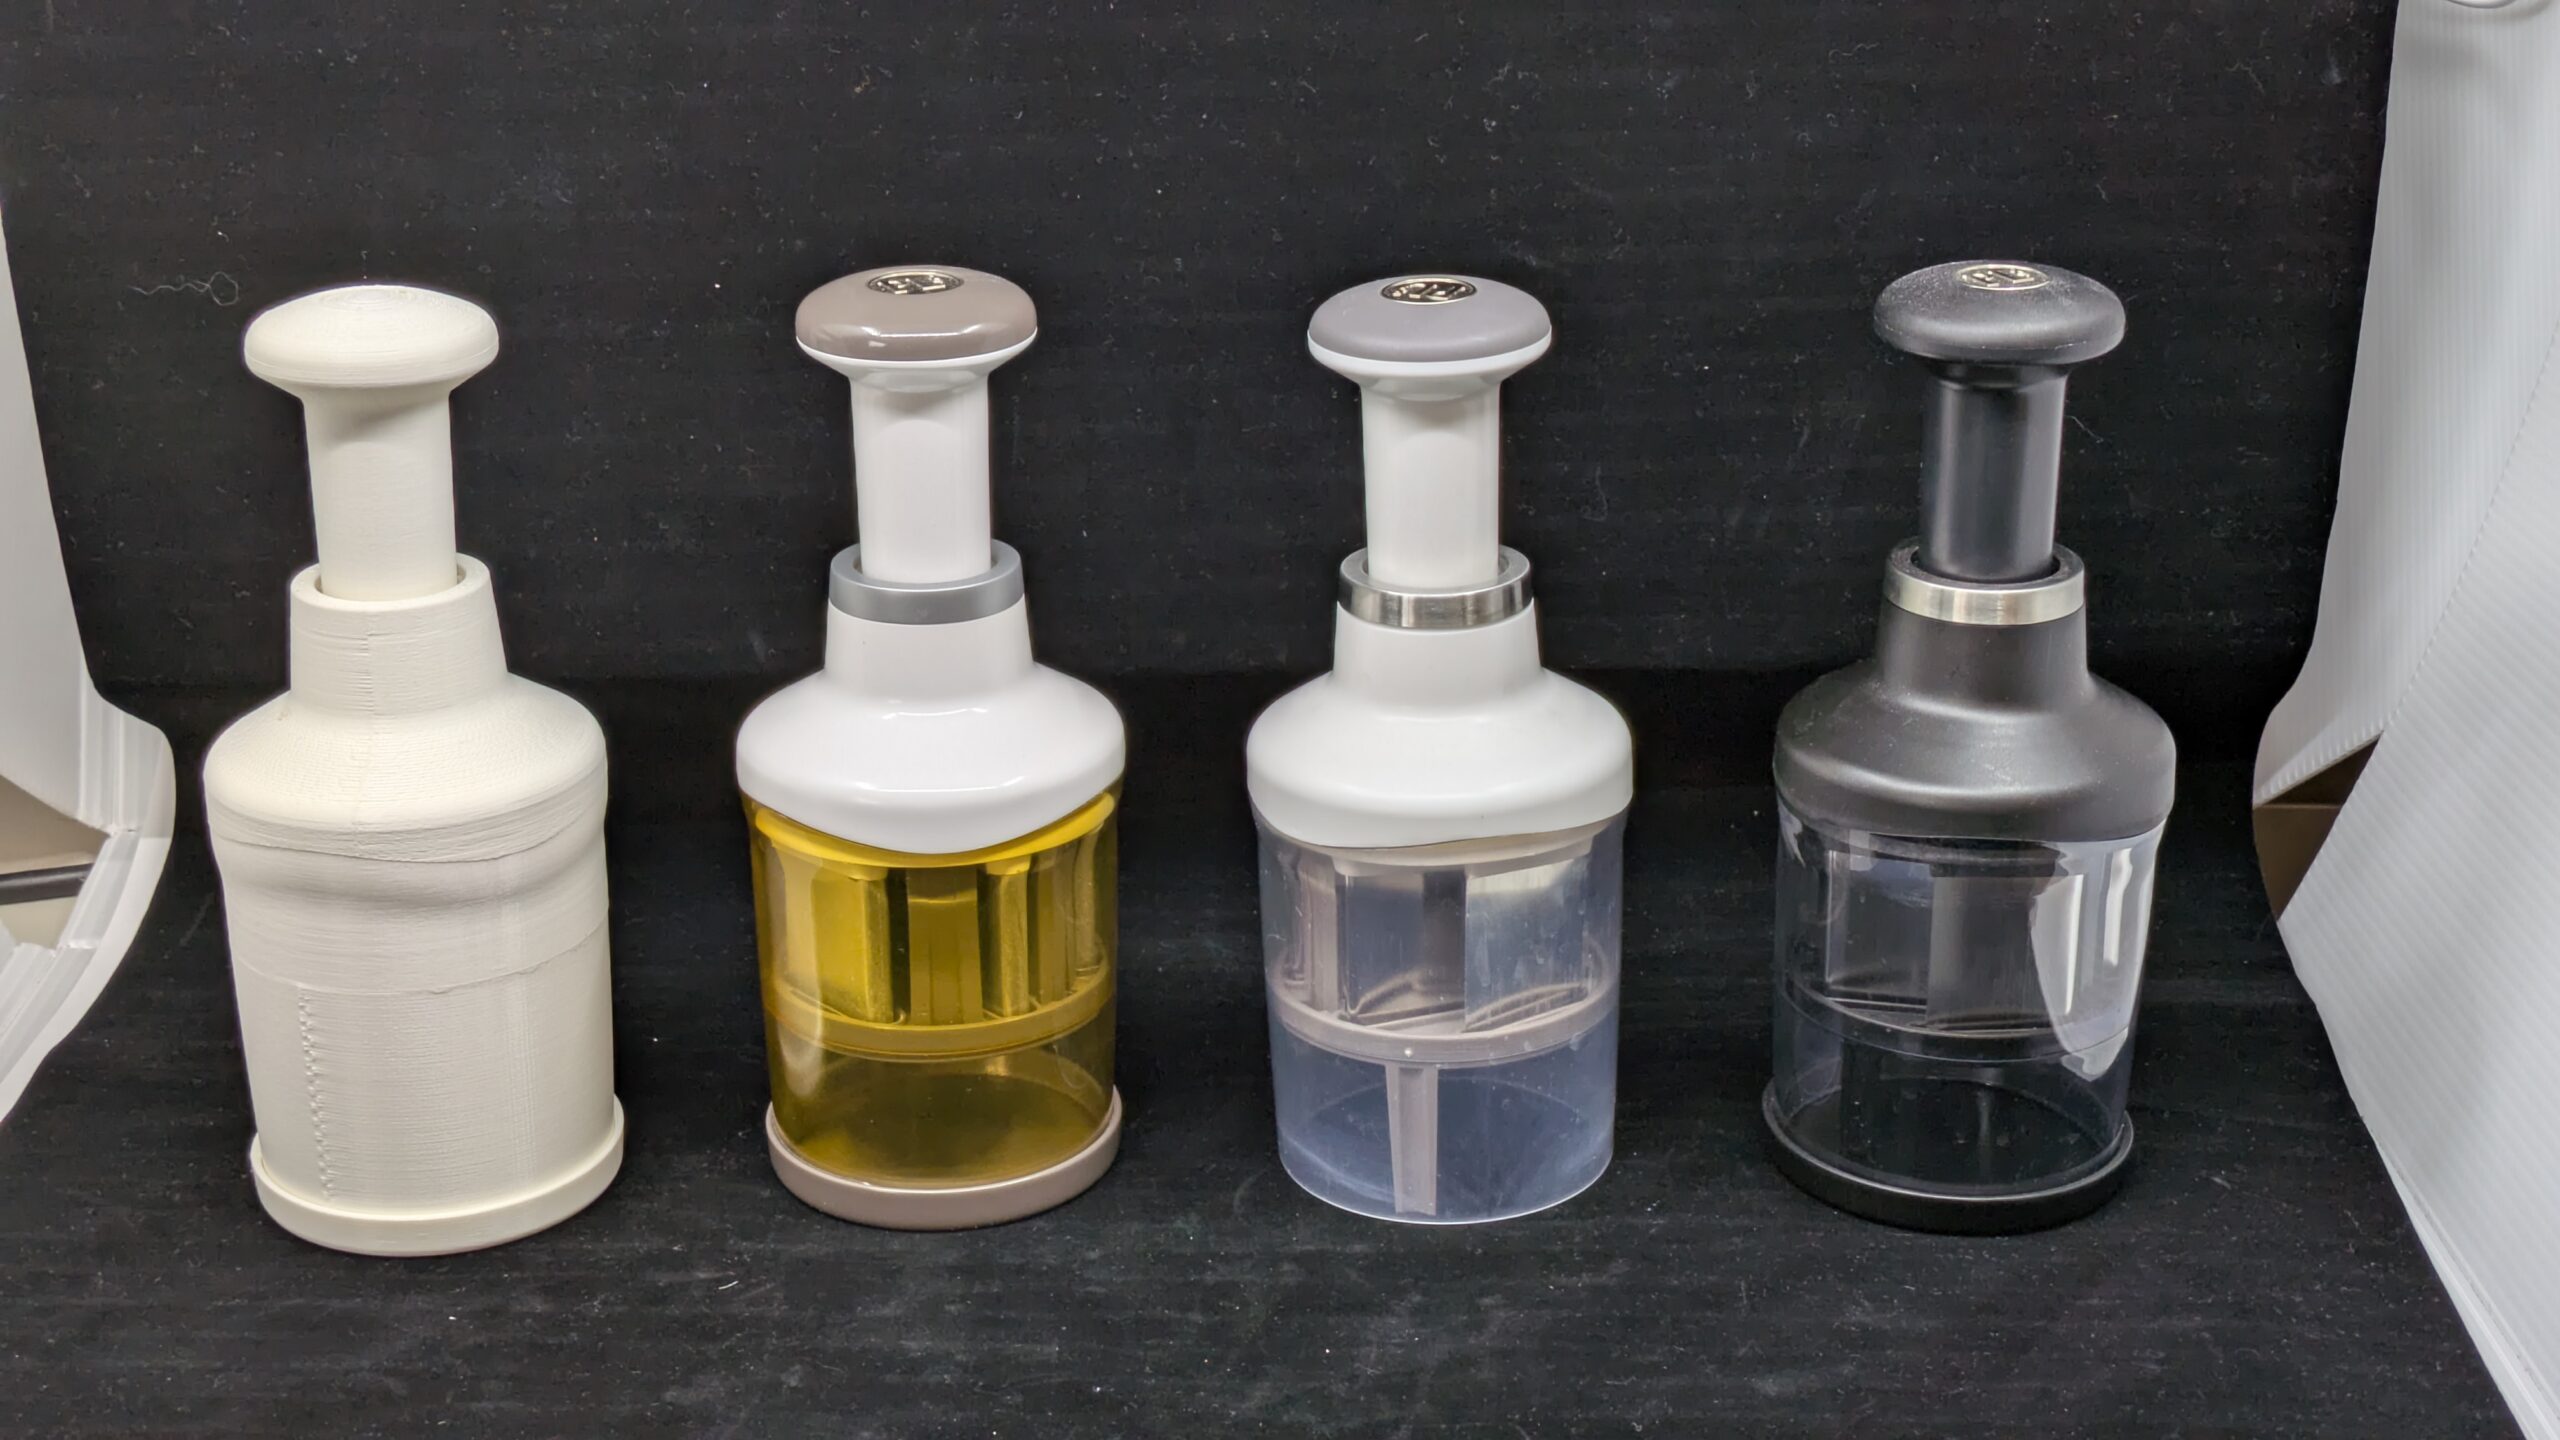
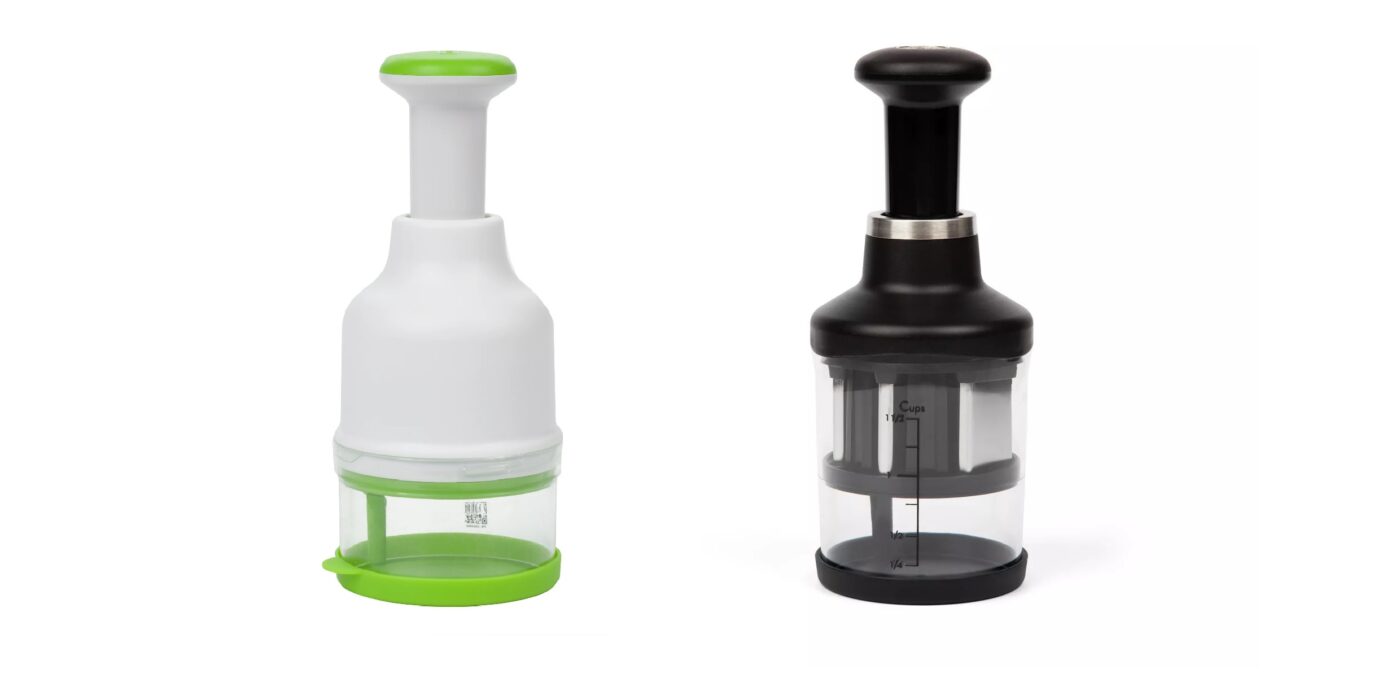
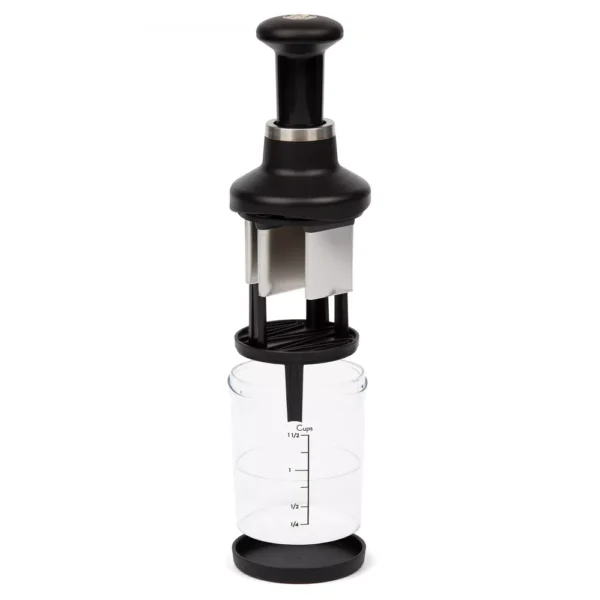
Stylistically, many of the items on the market are unrefined. We developed this PL8 version to look like it belongs in a high-end kitchen. It has stainless steel accents and smooth profile lines.
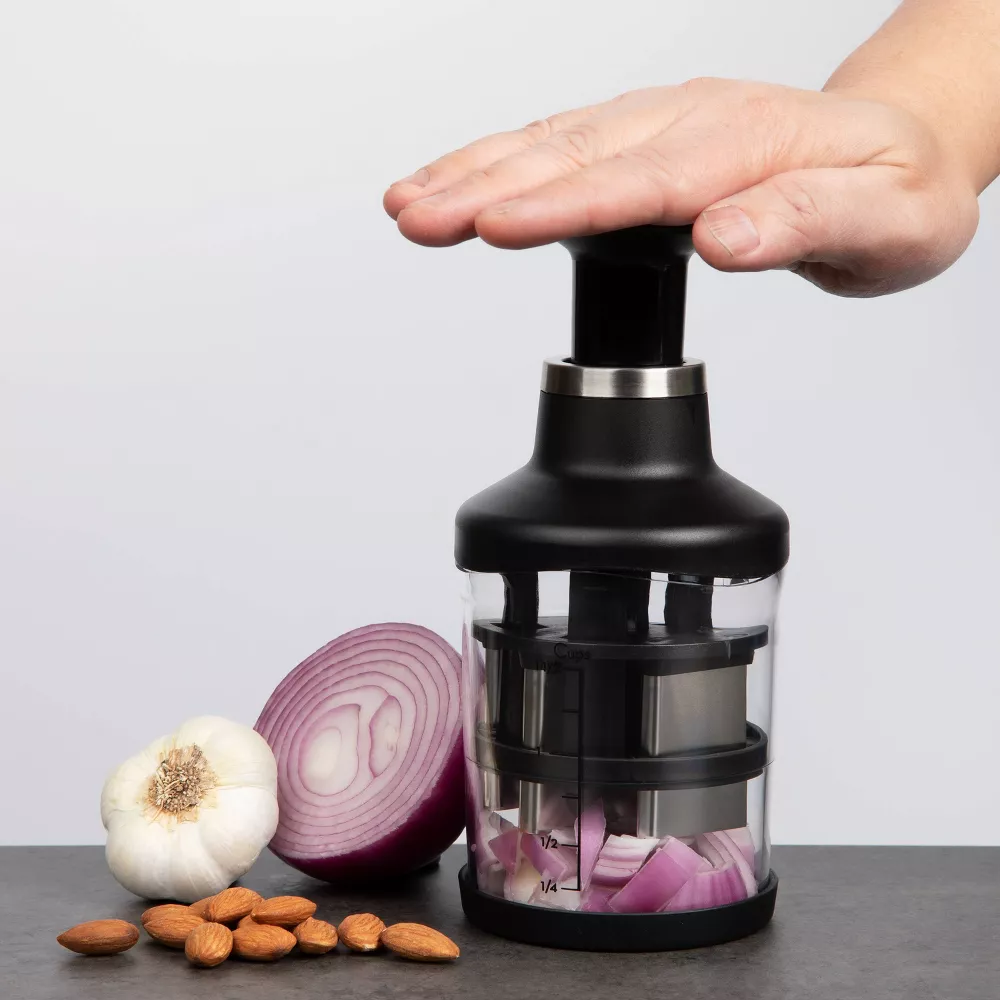

We later developed this Prep Solutions version for Walmart at a lower price. It has become one of the company’s best sellers. Mechanically they are almost the same, but some less critical features and material was omitted. Aesthetically there is a clear difference but in this case form follows function.


I developed all CAD models for both versions from scratch, collaborating with an industrial designer and product manager on styling and features. Prototyping, Testing and debugging of off-tool samples were conducted. This mechanical engineering project was a valuable experience that advanced my mechanism design skills and honed my attention to cosmetic and usability details, contributing to a high-quality user experience.