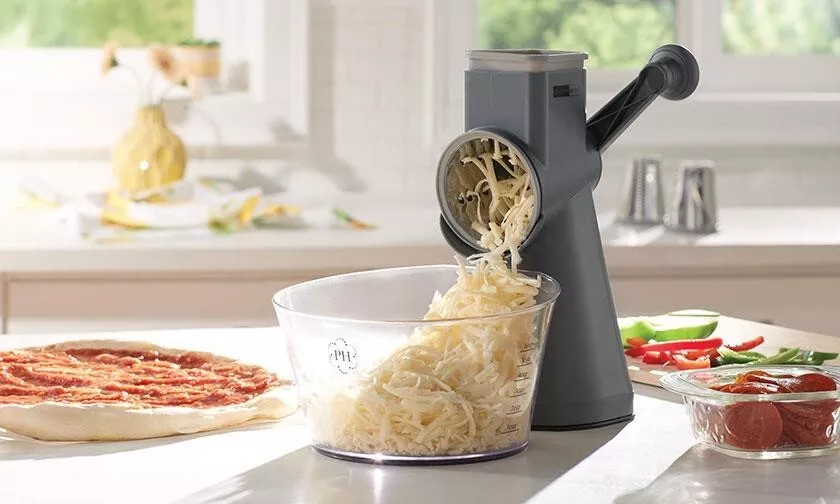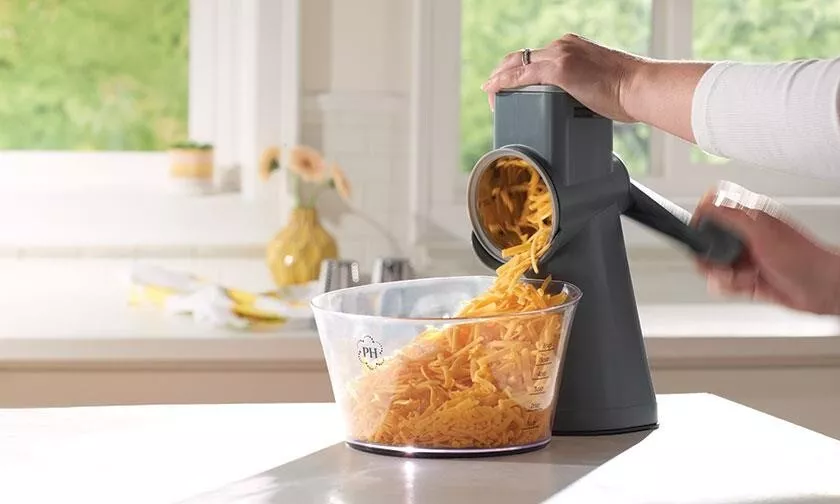
Drum graters are ideal for grating or slicing a large amount of food fast. It’s much more comfortable than a hand grater, but easier than getting out the food processor. They attach to the countertop and they are very efficient. Our goal was to improve upon existing designs targeting the higher end of market. It was originally started for our client Princess House and later re-launched under our own brand PL8.
Identifying Opportunities
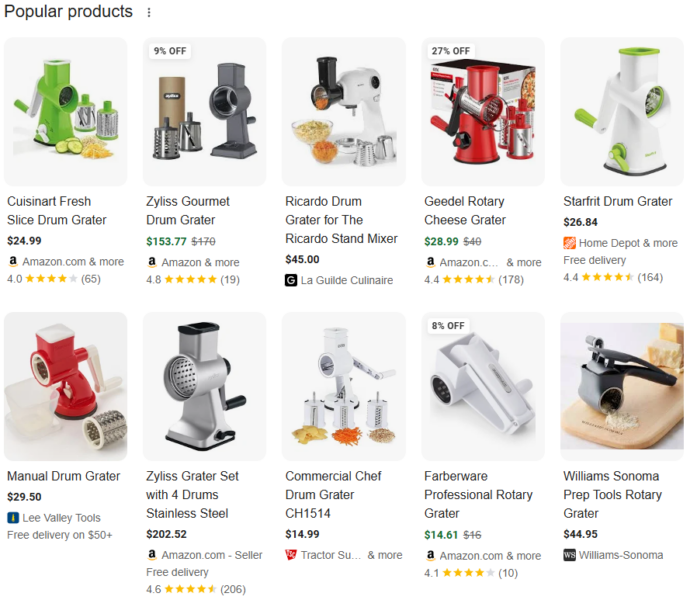
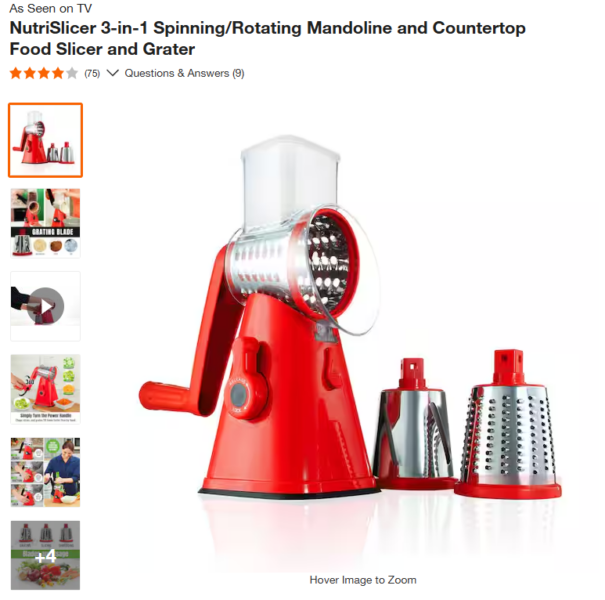
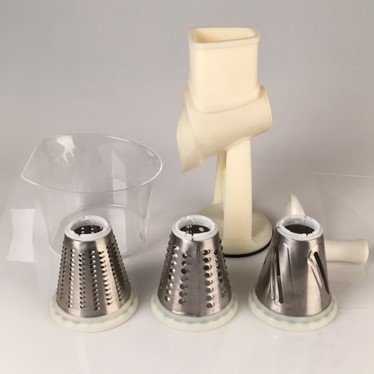
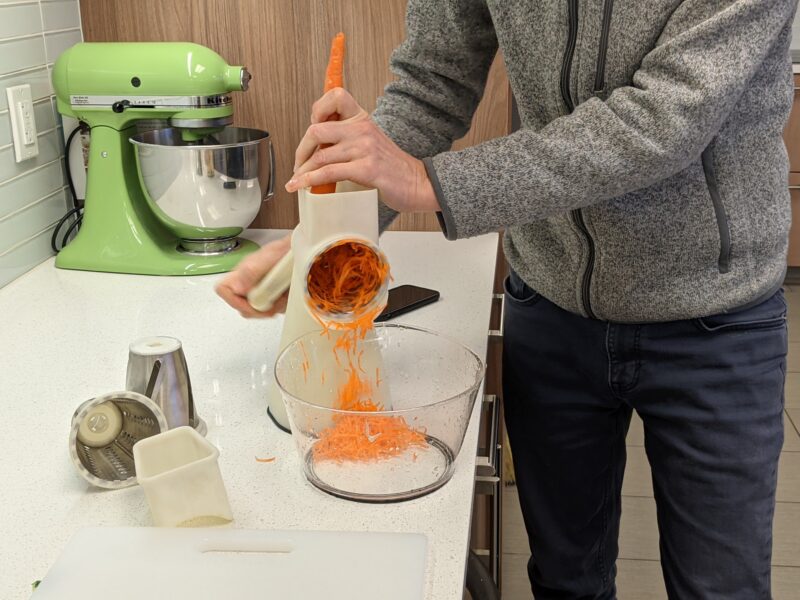
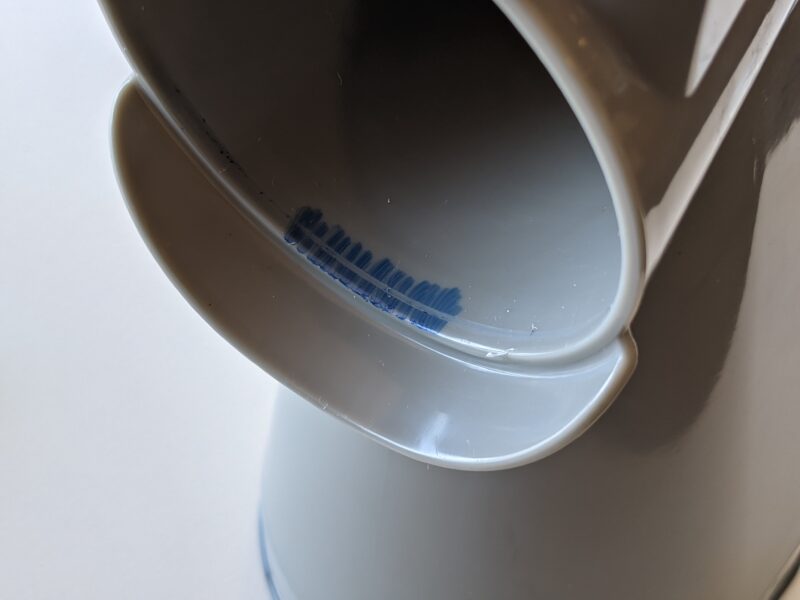
Our competitor product testing revealed several areas for improvement. The Nutrislicer was the best similar item on the market at the time so we challenged ourselves to improve upon it. Many items used a cylindrical grater but that tends to get jammed with the food. The conical grater Nutrislicer uses is more complex to manufacture but it allows the output to fall out on its own. The Nutrislicer, and other items lacked a convenient storage solution. We also noticed a desire for larger hoppers to accommodate bigger pieces of food and decrease the pre-processing required. The ergonomics of the handle were also an area to improve. The horizontal handle requires a bit more pronation than is comfortable. It also had a lot of wear along the clear body between the rotating parts, making it obvious after some repeated uses that it was making plastic dust. Finally, we found that a normal bowl would often not be able to catch all the food since the food tends to come out in a large area because of the cone’s motion, so we decided to include a bowl customized for the product.
The Starting Point: Initial Prototype and Challenges
When I took over this project, several prototypes had already been explored, including designs with wide, foldable feet, and a design with two legs rather than one wide base, shown above. A full-size functional prototype had been made which worked on a basic level, but it was clear that some issues needed addressing. The cone attachment was cumbersome, relying on a complex snap feature which was causing a lot of friction. More significantly, the prototype was too flexible. When pressure was applied in the crank handle, especially with sticky foods like cheese, the entire structure twisted and creaked. The suction cup was not holding either.
Mechanical Challenges
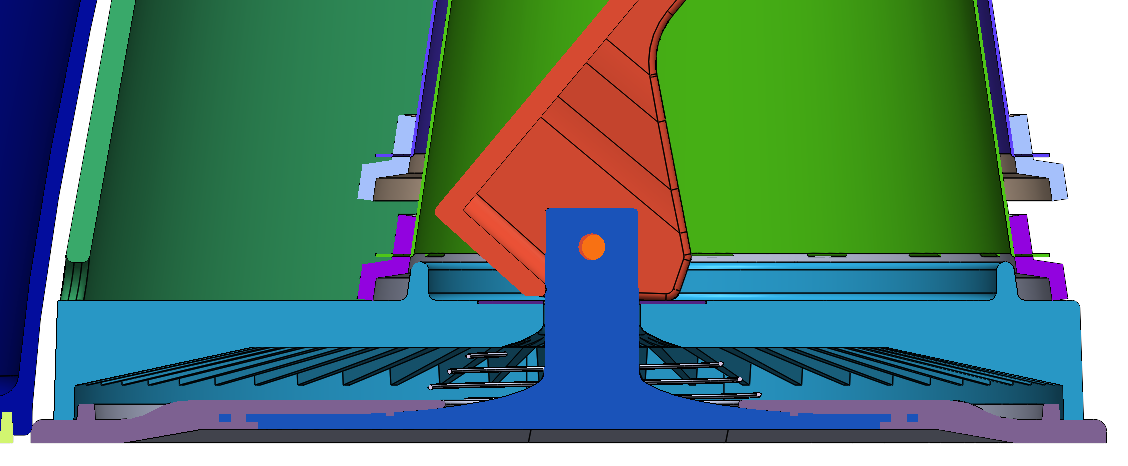
Structural rigidity
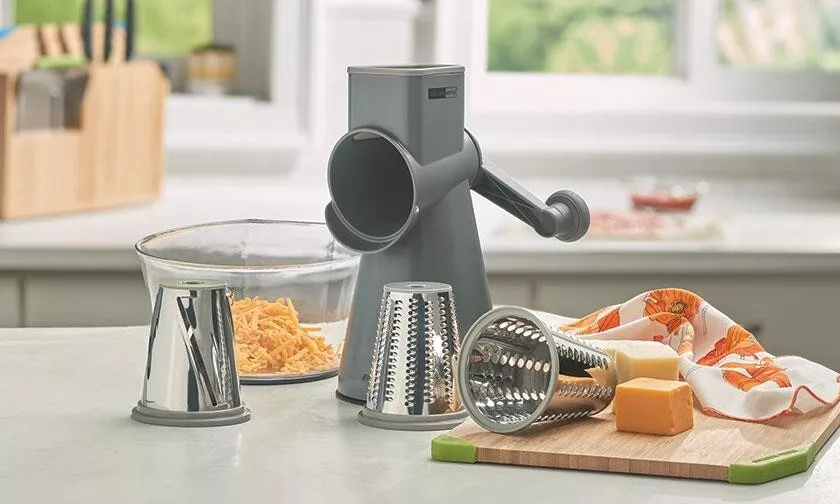
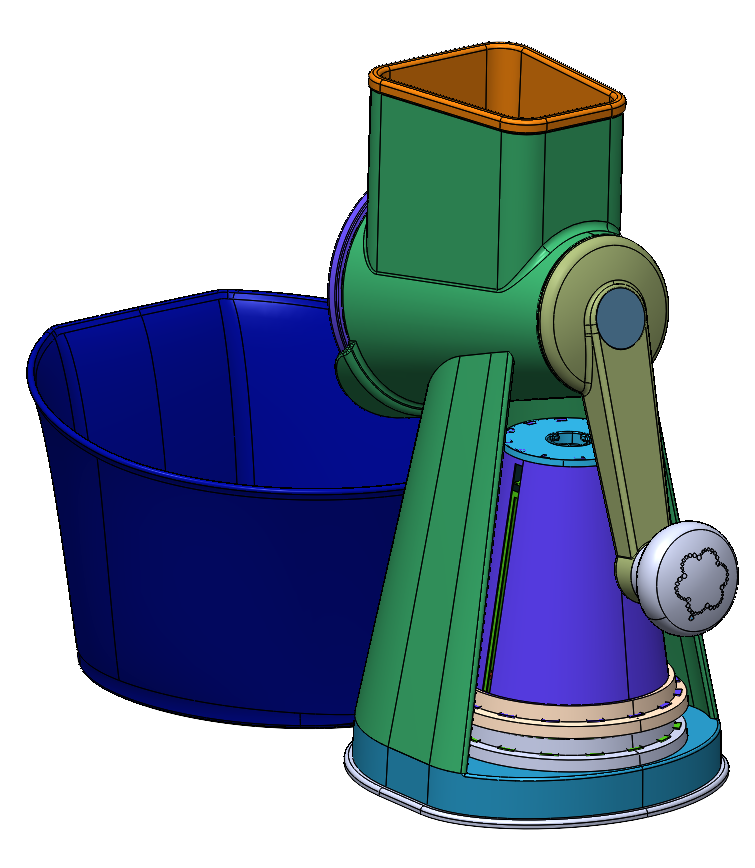
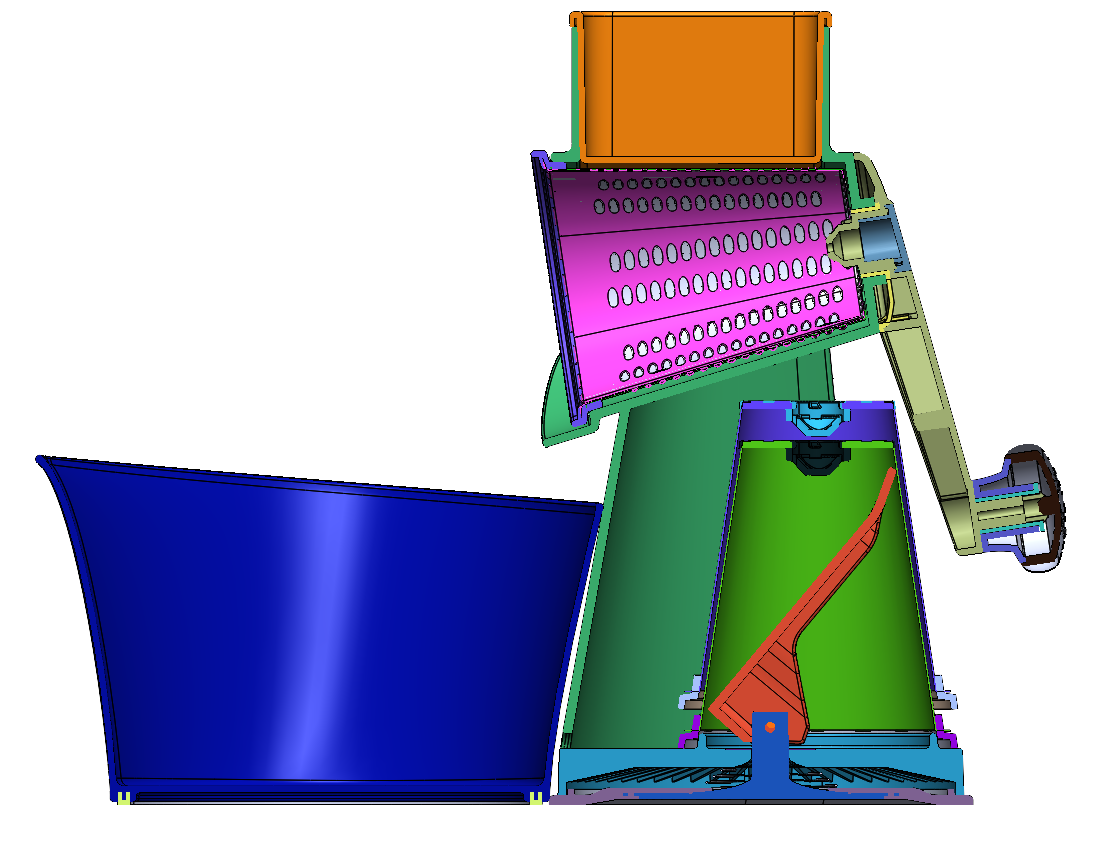
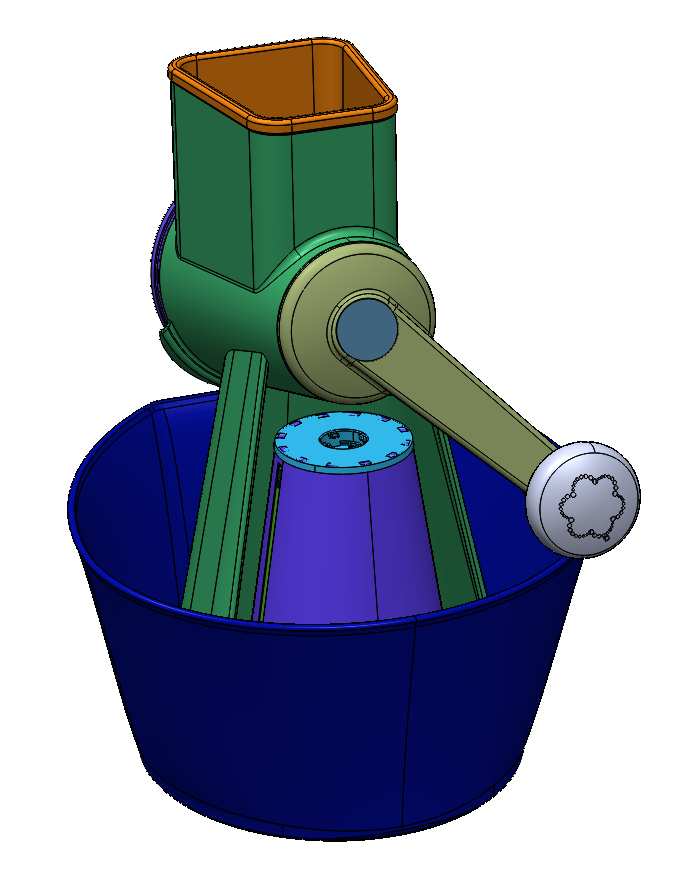
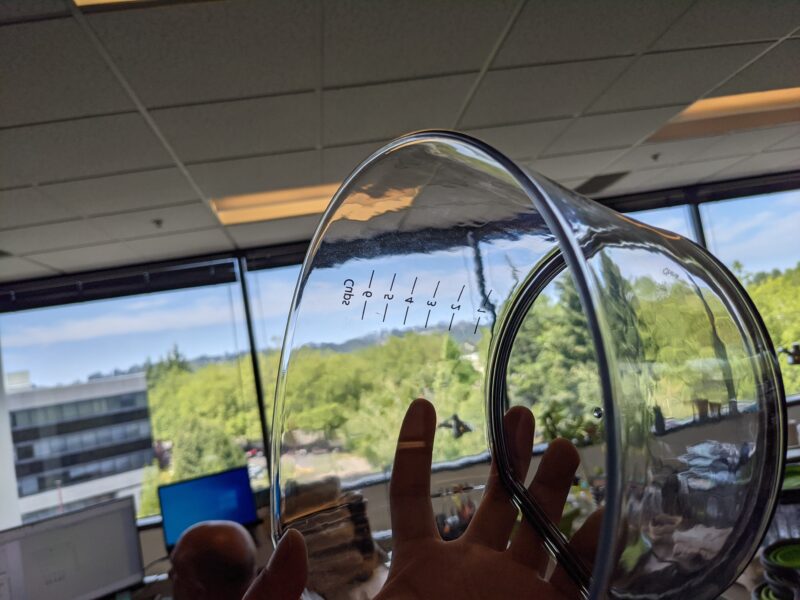
Simply increasing the leg thickness wasn’t sufficient and wouldn’t be manufacturable. I realized we needed a significant change in the cross-sectional shape to increase the polar second moment of area by an order of magnitude. I decided to move to a single, more substantial leg, and a wider base that could fit the cones and make the suction cup diameter larger. To maintain the storage functionality, I developed a “cave” format where the extra cones could be stored. This design also required the lever to fit within the cone. It was actually an opportunity in disguise because the lever helps hold the cone in place when putting the item away. This design provided the necessary stiffness and eliminated the twisting issue.

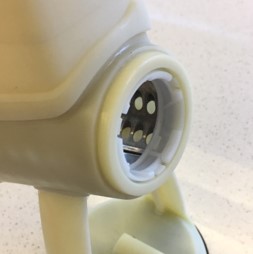
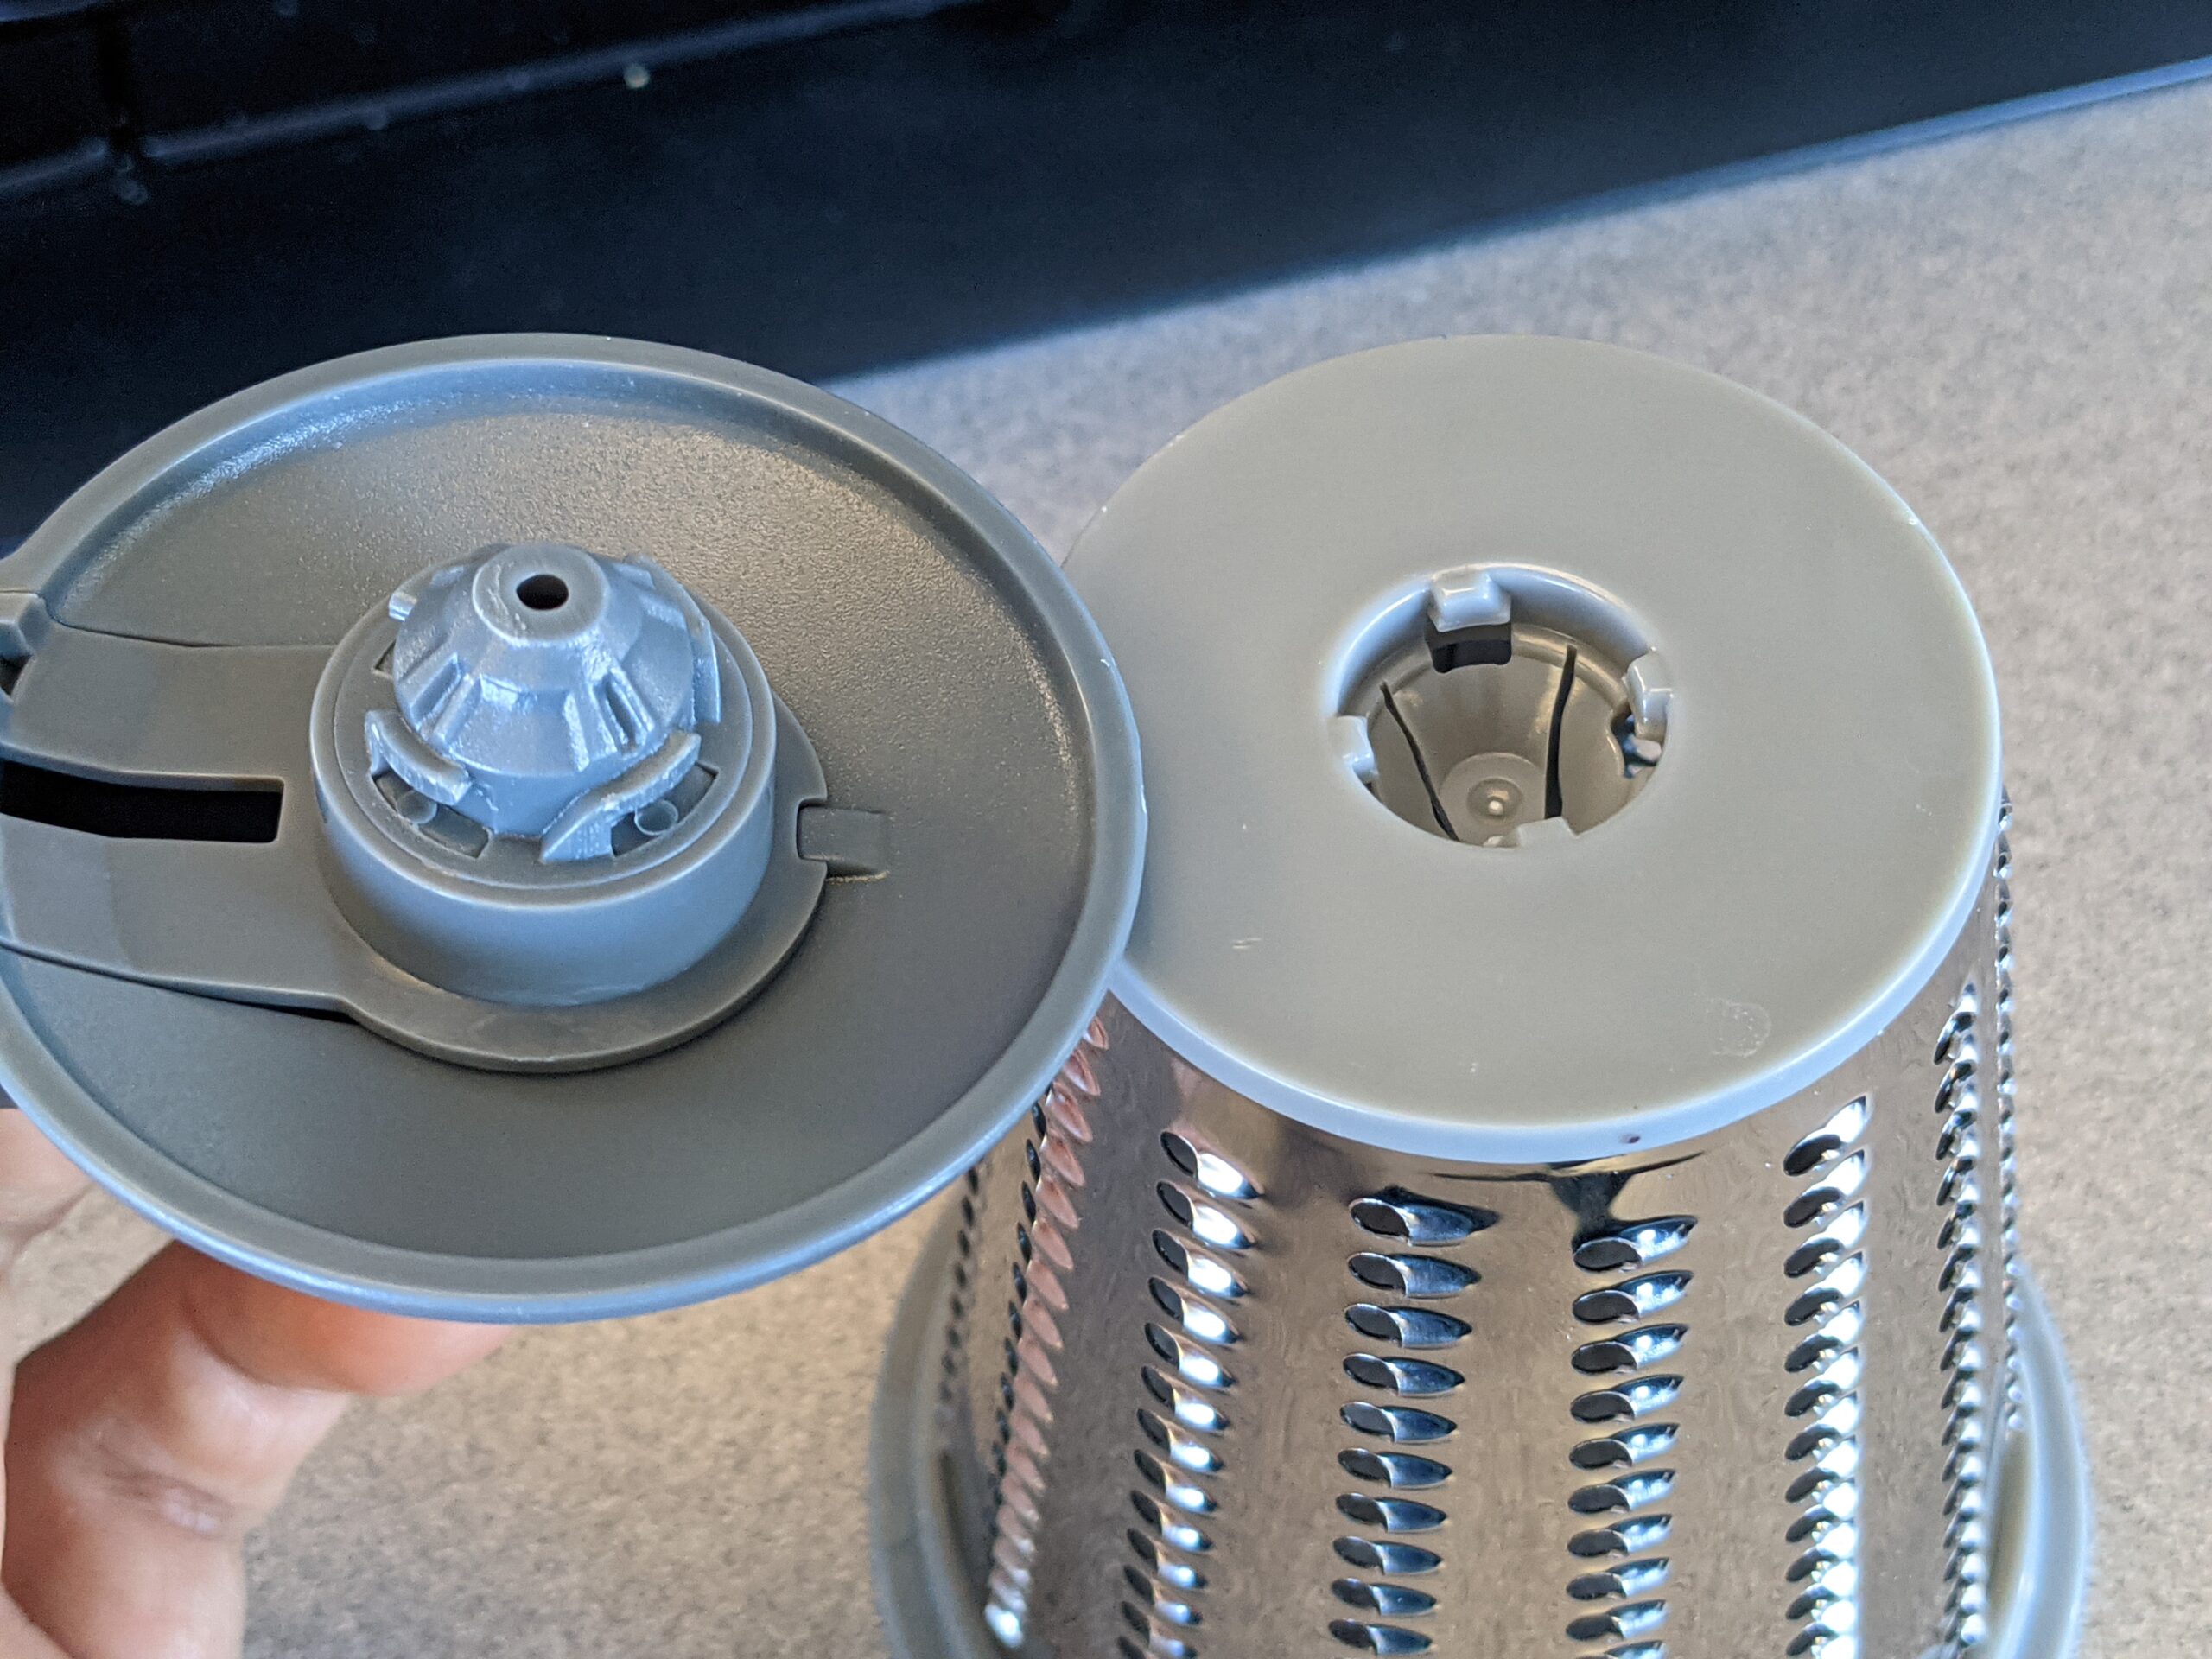
Cone and Crank Handle Connection
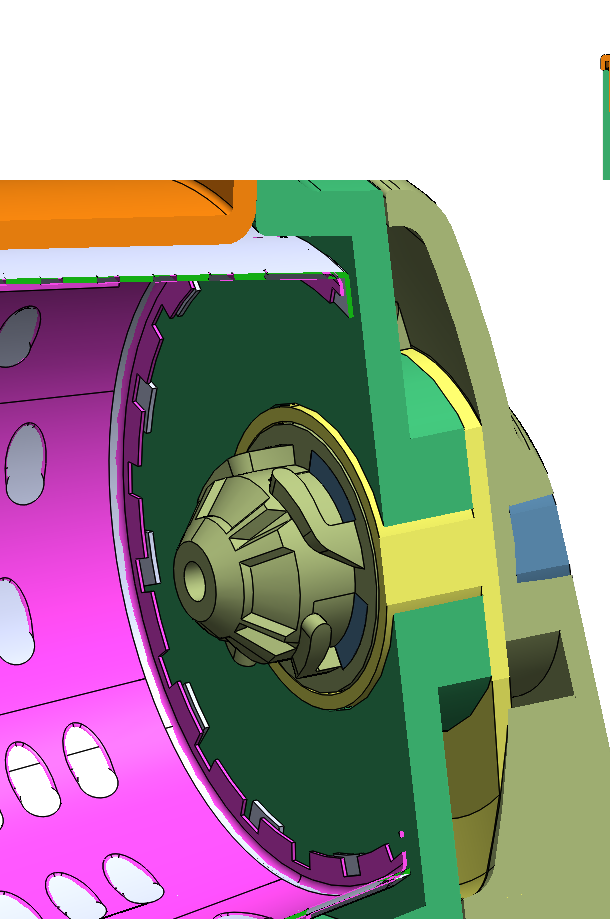
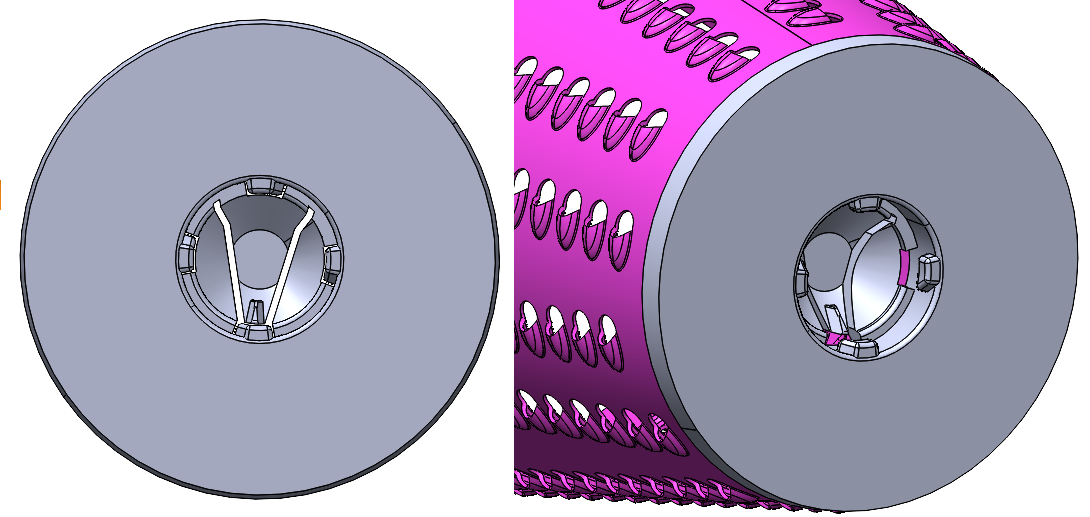
The connection mechanism needed to be secure, easy to use, and minimize friction. Competitors used various methods like square shafts with a snap feature, bayonets, or threads. The crux of its design is that the joint needs to fit though the bearing surface, and the diameter of the bearing surface has a direct relationship with the friction users will feel. I chose to use a bayonet, which reduced parts compared to nutrislicer’s solution and was easier to assemble than threads. I paid special attention to minimizing the size of the bayonet. I also incorporated a unique snap that provided resistance before unscrewing, preventing accidental disconnections, and creating an audible feedback click. To minimize wear, we incorporated POM bushings on the front of the cone and along the hub in the back, overmolded onto the grater cones. Working closely with the supplier, I debugged the off-tool samples, ensuring the final product met our specifications.
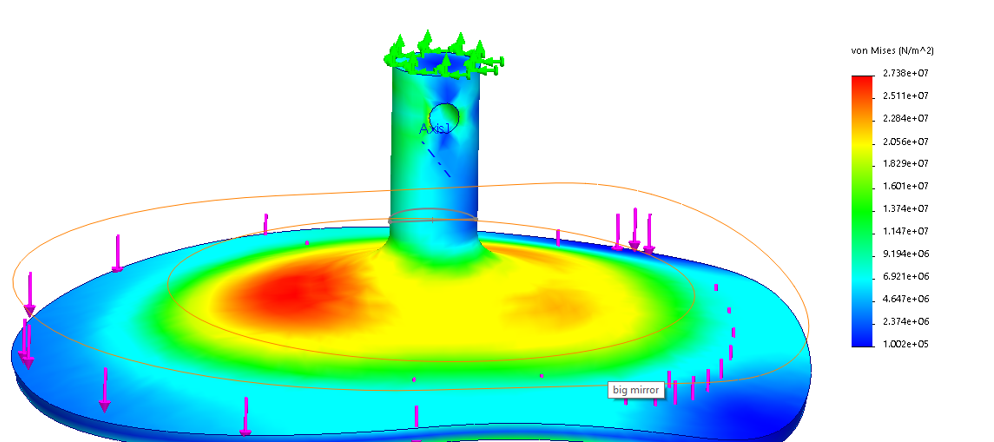
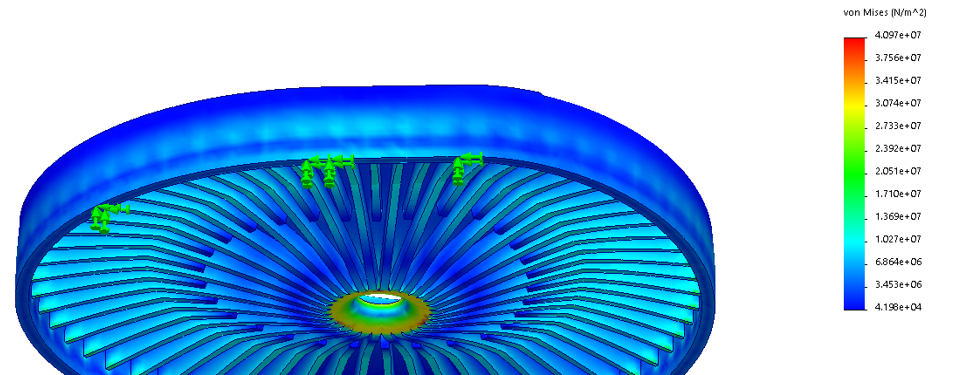
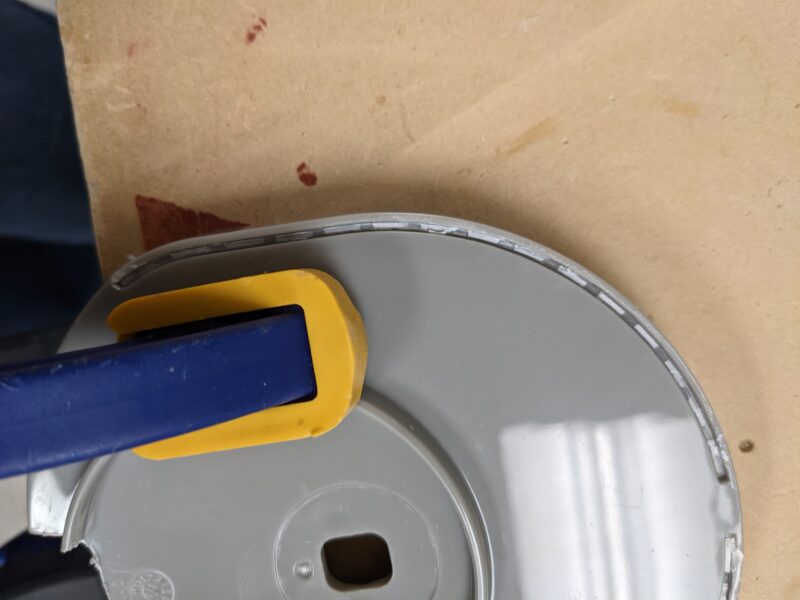
Suction Cup Strength Stability
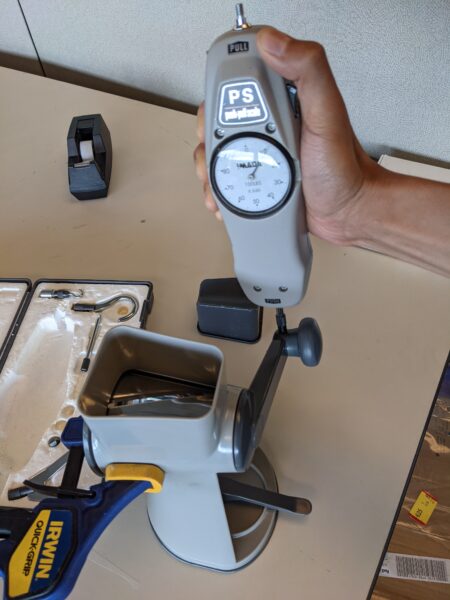
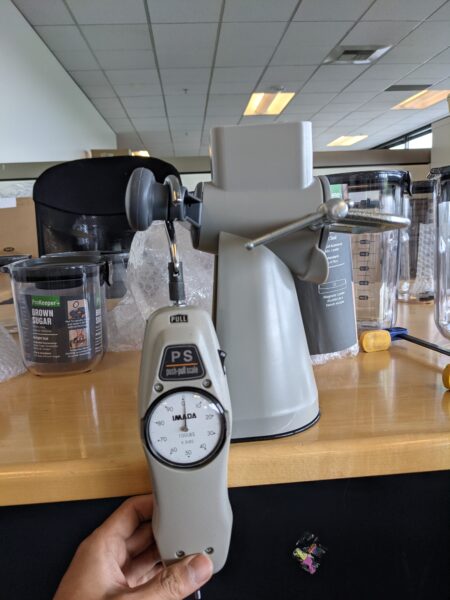
The suction cup needed to provide a strong, reliable hold, especially under the highest normal force (when pulling up) and the highest torque (when pushing sideways at the highest position). As the lever is pulled down it pulls up the suction cup to create the vacuum. FEA showed that the bottom plate’s flexibility was a significant issue. A nominal wall thickness would simply cave in, reducing suction. To address this, we added numerous ribs to the bottom plate. I used finite element analysis (FEA) tools to optimize the rib shape, ensuring maximum strength and suction without excessive material use.
Prototyping and Refinement
We used in-house FDM printing for quick prototypes and outsourcing to our factory for functional ones. We often prefer to quote the item out first, then select a supplier and use them for functional prototyping. After the functional prototype prove the design worked we moved on to tooling and sampling. I reviewed the tooling CAD, tested all off-tool samples and worked with the supplier to fix issues and make improvements.
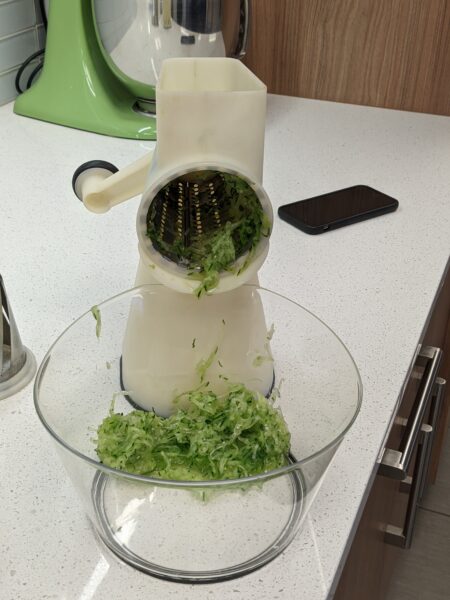
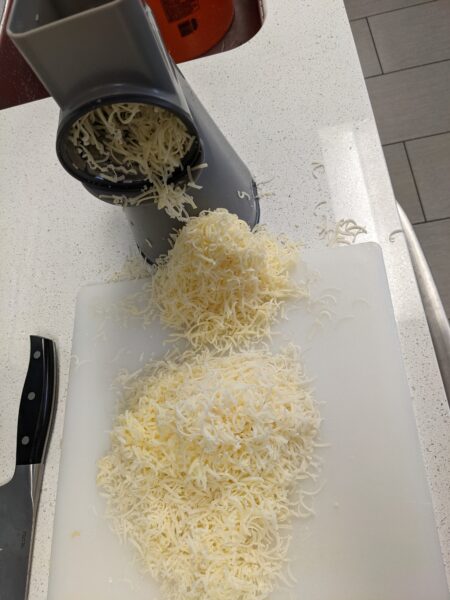
The final product works better than any direct competitor items and solves all of the problems we set for ourselves. The storage solution is the best on the market still because the whole item fits inside the bowl. It’s a breeze to use and I use it myself for grating cheese and making salads. It was sold by Princess House for years, and was later re-released under our own brand PL8.