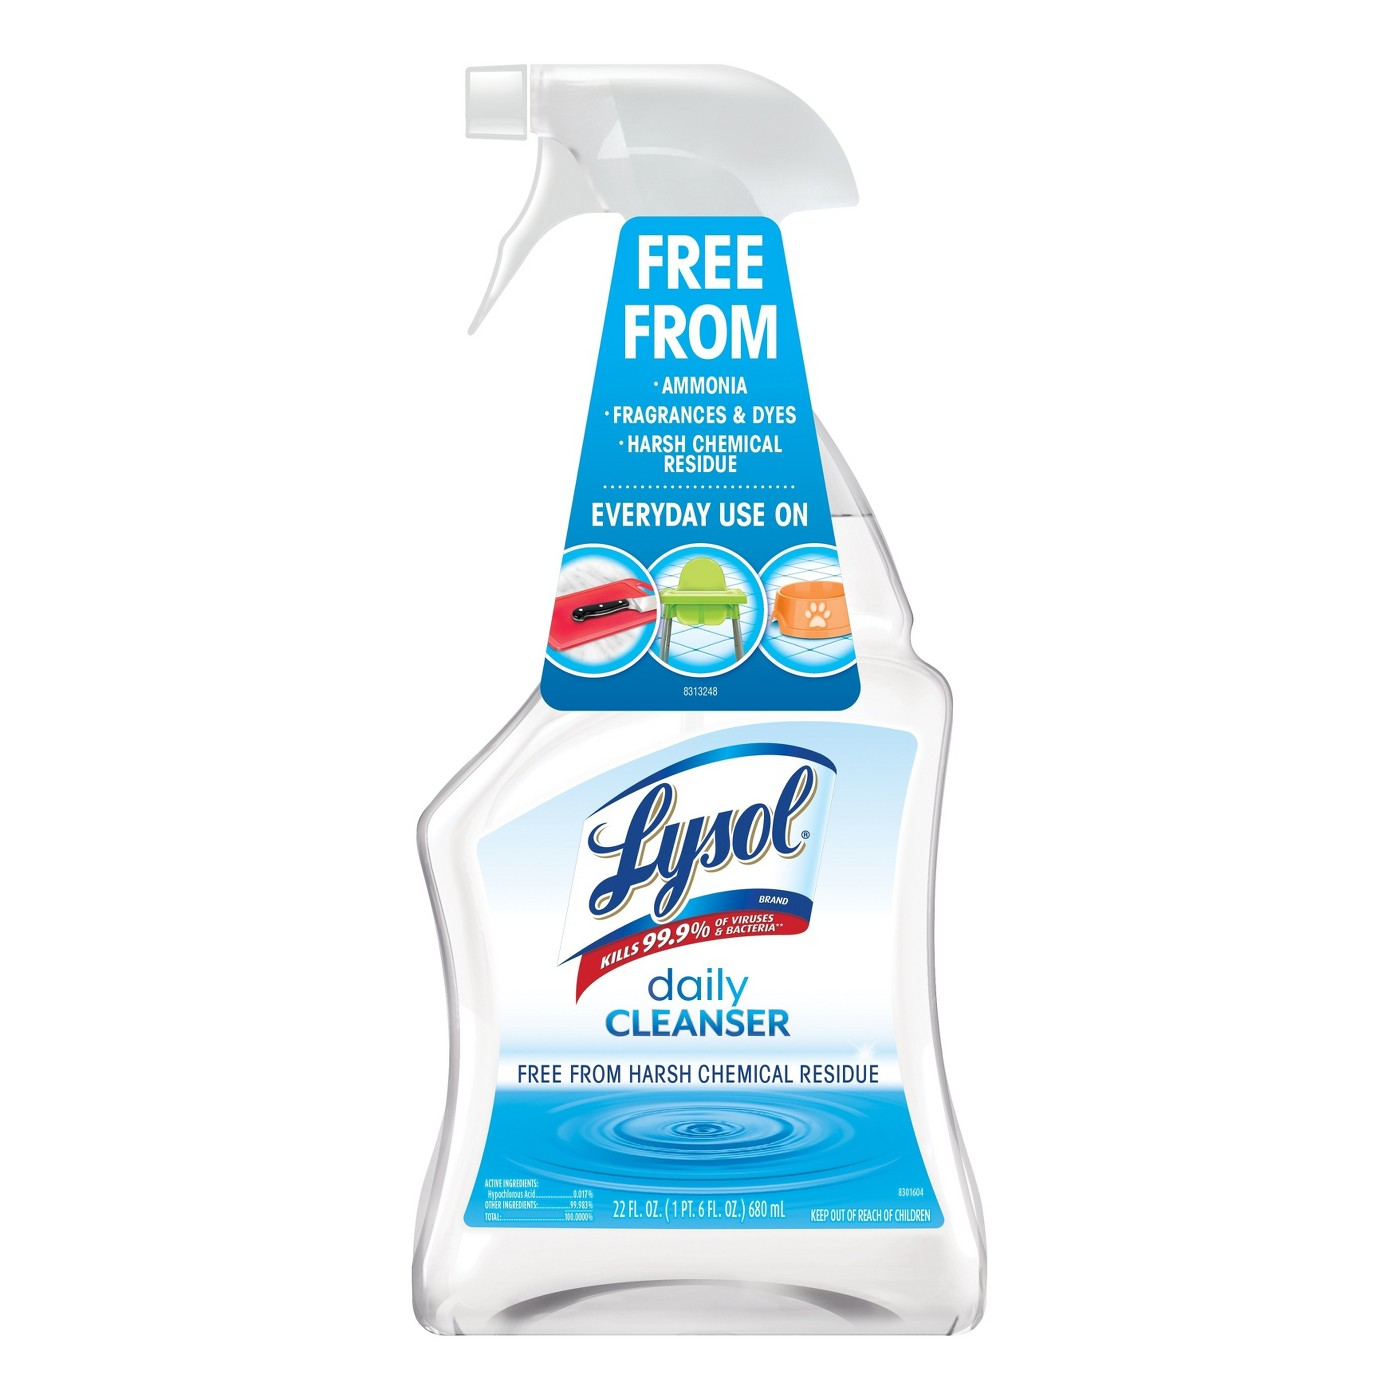

A new Lysol sub-brand calls for a new packaging. Lysol, and of course the whole industry, has plenty of disinfectants in many different formats but none are safe for the most critical surfaces in our lives like pacifiers and cutting boards. Our goal for this project was to introduce the concept of Lysol daily cleanser, a new type of disinfectant spray that both kills germs, and is also highly safe, even for food contact surfaces. The concept aims to be seen as the safer disinfectant brand compared to Clorox or bleach products.
So to support the position of the brand and the formula, the packaging should reflect the minimalist, safe perception. At the time there were two trigger bottles in RB portfolio, neither of which fit the brand. One was a PET glass cleaner bottle, and the other a white HDPE bottle used in most of RB’s trigger products, pictured below. We envisioned a new bottle with the same shape as the HDPE bottle, but a clear material.
Pre-existing HDPE bottle
As always, this was easier said than done.
We immediately got push back from our main bottle supplier and even some internal stakeholders that said it was not possible. The relationship with this supplier is quite good so we were surprised at the blunt response. Their factory is literally across the street from our factory which is quite a cost advantage. But they insisted it would not be strong enough unless we put ribs in the face. The root problem is a result of how the bottles are manufactured. HDPE bottles are extrusion blow molded while PET bottles are injection blow molded. For a bottle like this with an oblong top view, it’s much easier to make a bottle with nice even wall thicknesses on EBM, because you can extrude the parrison in an oblong way before even blowing it up. IBM bottles always start with an injection molded pre-form, which needs to be circular. It’s harder to stretch this little test tube size part evenly into an oval shape – the corners can be very thin because the plastic stretched so far to get there. To make it even worse our brand language always has a hourglass figure. The waist means the corner plastic will be stretching out in both dimensions when it finally hits the mold corners.
However we had some experience on other projects with bottles of similar aspect ratio and were confident it was in fact possible to do. We would have to compensate for the lack of ribs on the walls with a bit of extra weight. After collecting estimates (from a different supplier) and consulting the marketing team we agreed the added cost from this was worth it for the improved aesthetics. It didn’t end up this way ultimately but the vision was to put a semi shrink sleeve on the bottle instead of a label which would give a nice clean look often seen in water bottles.
We adapted the HDPE design for PET by making a few changes to slightly soften the sharp corners on the shoulders and base. We also added tiny ribs to the “flats” of the bottle since we suspected it would be weak there. Flats are the little flat areas where one bottle hits the next bottle on the conveyor belt line. They’re on the lower left and lower right corners, and they are where the bottle is weakest, and unfortunately also where the bottles are impacted the most on the line
When the first pilot tool was done and it came time to run a line trial in our factory there were issues. We made the bottles at an aggressive low weight (intentionally, for metal safe reasons) and bottles were getting denting on the line. The weak base corners were the culprit. We also identified an unexpected phenomena where the bottles would climb or jump each other on the line. It was a hard problem to diagnose since it happens unpredictably on the line so you can never be where you need to be to see it. Eventually I decided it must be due to the deformation behavior of the flats. The ribs we put extend down the bottom edge of the flats but not the top edge. This meant when you push the flats together the top edges compress more than the bottom edges and create a ramp. Sometimes with the right vibrations and forces the bottles can get pushed up the ramp.

Obviously this was not ready for the next step so we had make a new pilot tool with an adjusted shape. We were reluctant at first to make the changes since we were trying to balance maintaining our design language and manufacturability. Obviously after the trial it was clear the corners and weight needed to change. We ordered a new pilot tool with and impoved design: No ribs and a larger flat so plastic could more easily stretch in there.

T1 vs T2. Bigger flat and no ribs.
Once the tool was ready we again had to iterate and make samples at a few different weights to zero in on the ideal balance. Though it didn’t go perfectly the first time, ultimately we were able to create a manufacturer bottle despite some saying it was impossible.
